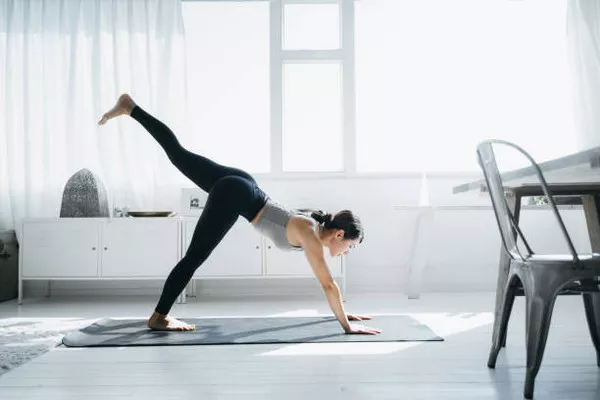
If you find yourself feeling stiff and uncomfortable after long hours of sitting, you’re not alone. Tight hips are a common issue, often resulting from prolonged periods of inactivity or intense physical activity. However, incorporating a few simple yoga poses into your routine can help alleviate tension and improve mobility. Mary Goodsell, a seasoned yoga teacher, has shared her top five poses to release hip tightness and boost flexibility. These gentle yet effective moves can be done after a day of sitting or whenever you need to stretch out your hips.
1. Child’s Pose
Benefits: Eases tension in the hips and lower back.
How to Do It:
Start Position: Kneel on the floor and sit your hips back towards your heels.
Adjust for Comfort: If this position is too intense, place a block or cushion under your buttocks.
Stretch Forward: Lean forward, resting your forehead on the floor. Move your knees out to the sides if necessary.
Arm Placement: Place your arms next to your legs with palms facing up.
Tip: Child’s pose is particularly beneficial for beginners and can be modified based on your flexibility and comfort level.
2. Figure Four
Benefits: Stretches tight glute muscles and hamstrings, which can alleviate hip discomfort.
How to Do It:
Start Position: Lie on your back with knees bent and feet lifted so that your knees are over your hips.
Position the Ankle: Place your right ankle over your left thigh, ensuring your right foot is flexed (toes pointing towards your shin).
Stretch: Hold the back of your left leg with both hands and gently pull it towards you until you feel a comfortable stretch.
Switch Sides: Repeat the pose on the other side.
Tip: This pose helps in targeting areas that might not get stretched with regular movements.
3. Low Lunge
Benefits: Enhances hip mobility and flexibility.
How to Do It:
Start Position: From a standing position, step your right foot forward and engage your core.
Lower Down: Bend both knees to lower yourself into the lunge. You can place your rear knee and the top of your rear foot on the floor or keep it elevated.
Adjust for Stretch: Move your rear foot back until you feel a stretch in your rear hip and thigh. Sweep your arms overhead or place your palms on your front knee.
Tip: Approach this pose with caution and adjust according to your flexibility and comfort level.
4. Frog Pose
Benefits: Stretches the hips, glutes, and lower back.
How to Do It:
Start Position: Stand with your feet wider than shoulder-width apart and toes pointing out at an angle.
Lower Down: Bend your knees and push your hips back, aiming to bring your buttocks close to the floor.
Support: If keeping your feet flat on the floor is challenging, use an angled foam block under your heels for support.
Hold and Move: Stay in the squat position for a few breaths, and feel free to move around gently.
Tip: Frog pose helps in releasing deep tension and improving overall hip mobility.
5. Pigeon Pose
Benefits: Targets the front of the hip flexors, an often neglected area.
How to Do It:
Start Position: Begin in a high plank position, with your body in a straight line from head to heels.
Bring Forward: Move your right knee forward towards your right wrist and your right ankle towards your left wrist.
Stretch Back: Slide your left leg back and place the top of your left foot on the floor. Keep your hips level. Use a yoga block under your right buttock if needed.
Lower Down: Walk your hands forward and lower your torso towards the floor, resting your forearms and forehead on the mat if flexibility allows.
Tip: Pigeon pose is highly effective for stretching the hip flexors and relieving tightness in the hip area.
Conclusion
Integrating these yoga poses into your routine can significantly help in releasing tightness and improving hip mobility. By practicing these moves regularly, you can counteract the effects of prolonged sitting and enhance your overall flexibility and comfort. Whether you’re new to yoga or looking to deepen your practice, these poses offer a gentle yet powerful way to care for your hips and maintain your mobility.


